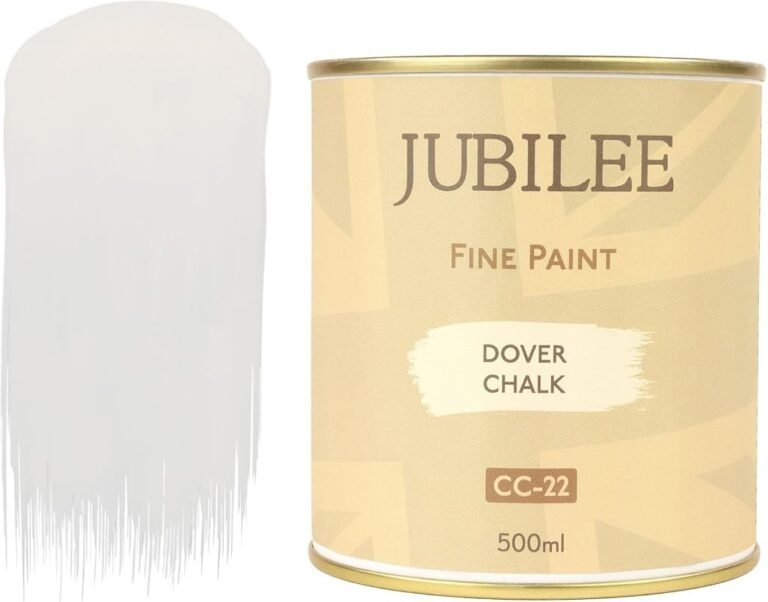
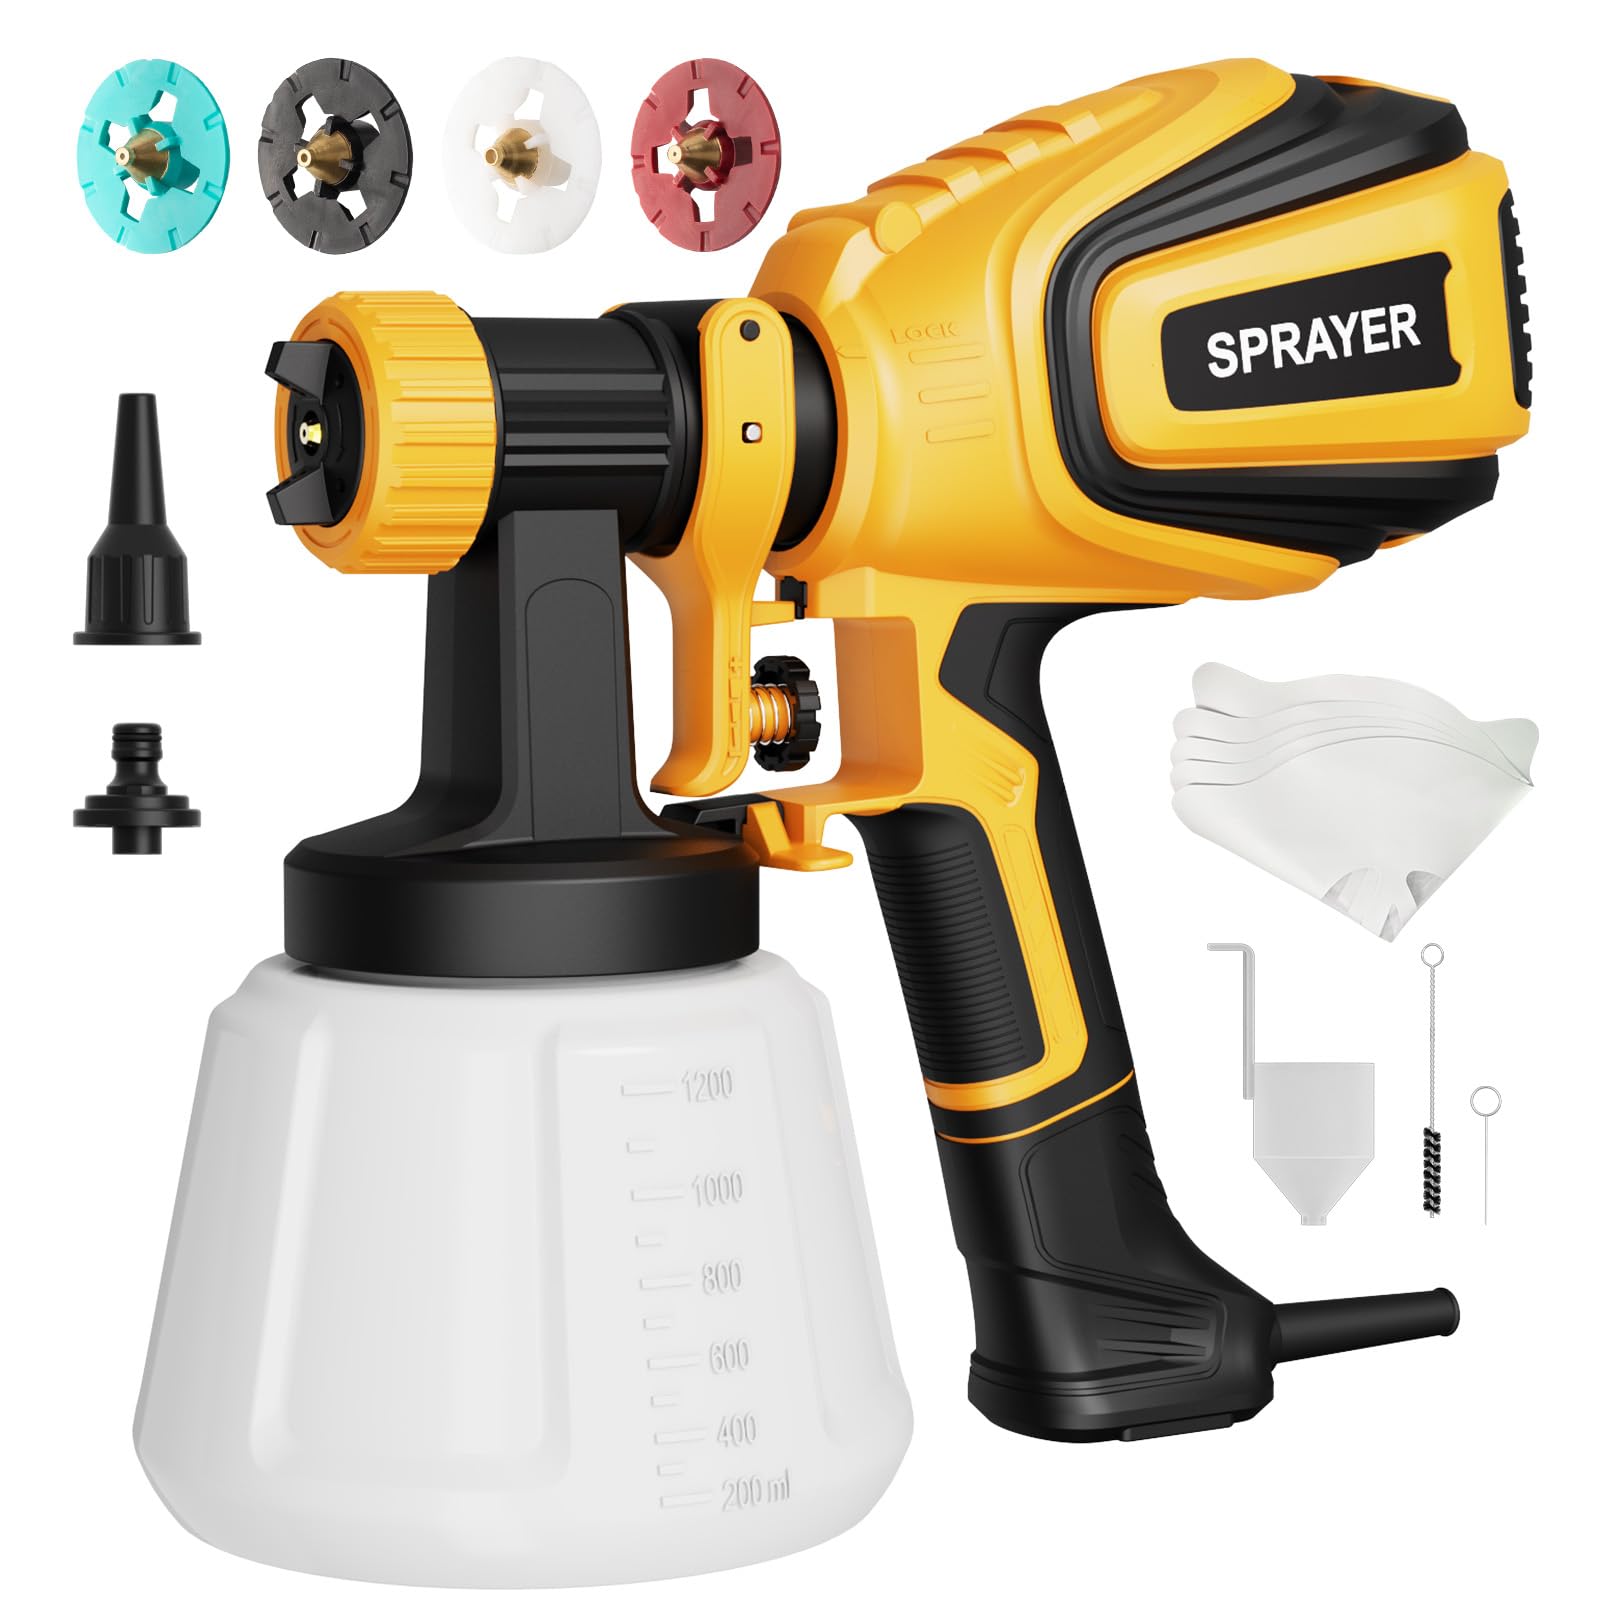
Best Limewash Paint for Interior Walls Top Picks
Walking into a room with a fresh, matte finish can feel like stepping into a calm, historic cottage. Even if you live in a modern flat. Many homeowners chase that soft, breathable look. Yet they often end up with chalky streaks or endless re‑coats. The frustration grows when the paint cracks, peels, or simply looks cheap after a few weeks.
Choosing the best limewash paint for interior walls saves you time, money, and headaches. In this guide you’ll learn how to pick the right product, prep your walls, apply the coating like a pro. Keep the finish looking timeless for years.
We’ll walk through each step with clear tips, handy checklists. Real‑world advice you can act on right now.
📌 AT A GLANCE
- ✓Historic Appeal: Limewash offers a breathable, natural finish that ages gracefully.
- ✓Surface Prep: Proper cleaning and priming prevent flaking and ensure adhesion.
- ✓Application Technique: Thin, even coats and proper curing are key to a flawless look.
- ✓Maintenance Routine: Simple cleaning extends life and retains the soft matte texture.
- ✓Product Comparison: Knowing the differences helps you select the ideal limewash brand.
Foundational Overview & Key Principles
Understanding why limewash works helps you avoid common pitfalls. Lime creates a mineral bond with plaster, letting walls breathe. Meanwhile, providing a subtle, chalky hue. Unlike acrylic paints, it is vapor‑permeable, which reduces mold risk in humid homes. However, the finish is delicate and needs careful handling.
Apply a small patch on an inconspicuous area to check color and adhesion.
Calculate total square footage to estimate limewash quantity accurately.
Use a breathable primer if walls are previously painted or sealed.
Allow 24‑48 hours between coats for proper carbonation.
When you select the best limewash paint for interior walls, consider factors such as lime purity, binder type, and pigment stability. These affect color depth, strength, and how the paint reacts to indoor heat swings. Below you’ll find a quick snapshot of the core concepts you should master before you start. For complementary picks and expert testing advice, see our guide on Best Sherwin Williams White Paint for Interior Walls.
- Mineral Bonding: Lime reacts with carbon dioxide to form a hard, breathable layer.
- Vapor Permeability: Allows moisture to escape, preventing mildew on historic plaster.
- Color Pigmentation: Natural earth pigments stay true over decades without fading.
- Alkali Resistance: High pH protects against bacterial growth on the surface.
- Application Thickness: Thin coats (1‑2 mm) cure evenly and avoid cracking.
Mastering these principles sets the stage for a successful limewash project. Next, we’ll give you a concise action plan you can follow today.
Essential Guide to Best Limewash Paint for Interior Walls: Key Insights
Before any paint touches the surface, the wall must be clean, dry. Free of loose material. Dust, grease, or old glossy paint can block the lime’s ability to bond with the plaster. Start by removing any furniture, covering flooring, and ventilating the room.
When working in a room with high humidity, choose a pure hydraulic lime product. Its slower carbonation helps prevent surface cracking.
Next, inspect the wall for cracks or holes. Fill these with a lime‑fit filler, then sand smooth. Finally, wipe the wall with a damp cloth to remove dust. Let it dry completely before moving on.
- Dust Removal: Use a vacuum with a brush tool to pull loose particles.
- Degreasing: Lightly wash the wall with mild soap and water to cut through oil.
- Crack Repair: Apply a lime plaster patch and smooth with a trowel.
- Sanding Surface: Lightly sand repaired spots to create a uniform texture.
- Moisture Check: Ensure the wall is 24 % humidity or lower for optimal adhesion.
Following this checklist guarantees a strong, lasting bond between the limewash and your interior walls.
Selecting the Right Limewash Paint Product
Not all limewash paints are created equal. Some contain acrylic binders for faster drying. Others are pure hydraulic lime for authentic historic finishes. Your choice should match the room’s use, desired look, and upkeep preferences.
- Below Is: Below is a comparison of three top-rated products for 2026.
- We Evaluated Them: We tested them on pigment richness, breathability, ease of use, and price per gallon.
| Brand | Lime Type | Pigment Range | Dry Time (hrs) | Approx. Cost |
|---|---|---|---|---|
| Heritage LimeCo | Pure Hydraulic Lime | Earth tones, whites | 8‑10 | $45 |
| EcoStone Finish | Lime‑Acrylic Blend | Over 30 colors | 4‑5 | $38 |
| Rustic Wall Labs | Lime‑Silicate Mix | Natural pastels | 6‑7 | $42 |
For most interior projects, the EcoStone Finish offers the best balance of color variety and quick drying. Heritage LimeCo provides the most authentic, breathable finish for historic homes.
Mixing and Testing Your Limewash
Correct mixing is crucial for a smooth, even finish. Use a clean bucket and a sturdy stir stick. Add lime to water first, then slowly blend in pigment to avoid clumping. The mixture should have the steadiness of thin milk.
Before you coat an entire wall, always test the mixture on a small scrap piece of plaster. This lets you see the true color after curing. Adjust the pigment or water ratio if needed.
- Water Ratio: Start with 1 part lime to 3 parts water, adjusting for thickness.
- Pigment Addition: Add pigment gradually, stirring until fully dispersed.
- Mixing Time: Stir for at least 5 minutes to achieve a uniform slurry.
- Rest Period: Let the mix sit 10‑15 minutes to release trapped air.
- Test Patch: Apply a 2‑inch square on a hidden area and let it cure.
These steps ensure a steady hue and prevent unwanted streaks once you start painting.
Applying Limewash: Technique and Tools
Applying limewash differs from standard paints. You need a soft brush or a natural‑hair mop to spread thin layers. Work from top to bottom, using long, even strokes. Overlap each pass slightly to avoid visible lines.
After the first coat, allow it to dry completely—usually 12‑24 hours depending on humidity—before applying a second coat. Two to three coats give the richest color and the strongest bond.
- Brush Choice: Use a natural‑hair brush for smooth, even coverage.
- Coat Thickness: Apply no more than 1 mm per coat to avoid cracking.
- Overlap Technique: Overlap each stroke by about 25 % for seamless texture.
- Drying Interval: Wait 12‑24 hours between coats for proper carbonation.
- Final Buffing: Lightly rub the dried surface with a soft cloth for a subtle sheen.
Patience during each coat’s drying time pays off with a durable, authentic limewash finish. For complementary picks and expert testing advice, see our guide on Top 8 Best Spray Paint for Interior Walls for Home Use.
Curing and Post‑Application Care
Unlike fast‑drying acrylics, limewash relies on carbonation—reacting with carbon dioxide—to harden. Good airflow and moderate heat (65‑75 °F) speed up this process. Avoid direct heat sources or drafts that can cause uneven curing.
Once fully cured (usually 48‑72 hours), you can lightly dust the walls with a soft cloth. This removes any residual powder and reveals the true depth of the color.
- Ventilation Strategy: Open windows and use fans to circulate fresh air.
- Temperature Control: Keep room heat steady, avoiding spikes above 80 °F.
- Humidity Management: Aim for 40‑55 % relative humidity during cure.
- Dust Removal: Gently wipe with a dry microfiber cloth after curing.
- Final Inspection: Check for missed spots or uneven texture before moving furniture.
Proper curing ensures the limewash reaches its full hardness. Breathability, protecting your walls for years.
Maintenance and Long‑Term Care
One of limewash’s biggest benefits is its low‑upkeep nature. Regular dusting and occasional gentle cleaning keep the surface fresh without stripping the finish. Avoid harsh chemicals; a mild soap solution is enough.
If you notice minor stains, lightly spot‑clean with a soft sponge. For larger areas, reapply a thin coat rather than sanding down the whole wall.
- Regular Dusting: Use a dry microfiber cloth weekly to remove surface dust.
- Spot Cleaning: Apply a few drops of mild dish soap in water, then wipe gently.
- Avoid Abrasives: Never use scouring pads or acidic cleaners on limewash.
- Recoat Strategy: Apply a thin, fresh layer over stained spots after cleaning.
- Periodic Inspection: Check annually for cracks, most in high‑traffic rooms.
These simple habits keep the matte charm alive while preserving the wall’s breathability.
Common Problems and Troubleshooting
Even with careful preparation, issues can arise. Cracking, uneven color, or flaking are the most frequent complaints. Understanding the cause helps you fix the problem quickly.
Below are typical symptoms and their remedies. So you can maintain a flawless finish without costly rework. For complementary picks and expert testing advice, see our guide on Top 10 Best Airless Paint Sprayer for Interior Walls.
- Cracking: Often caused by applying coats too thick; sand lightly and reapply thinner layers.
- Uneven Color: May result from too little mixing; stir longer and test a new patch.
- Flaking: Indicates poor surface prep; re‑prime the area with a breathable primer before re‑coating.
- Surface Dusting: Happens when carbonation is incomplete; improve ventilation and allow extra curing time.
- Sticky Feel: Caused by excess water. Wipe excess with a dry cloth and let the area dry fully.
Addressing these issues early prevents larger repairs down the line.
Best Practices for a Professional Finish
Following proven best practices makes your limewash look gallery‑ready. Here are the top dos and don’ts to keep in mind.
Always wear a dust mask and eye protection when sanding or mixing lime. The fine particles can irritate lungs and eyes.
- Do Use Fresh Lime: Old lime can lose reactivity, leading to weak bonds.
- Do Test Color: Always check the cured hue before committing to full coverage.
- Don’t Rush Drying: Skipping the full cure time causes soft, powdery surfaces.
- Do Keep Tools Clean: Residue can create streaks in later coats.
- Don’t Apply Over Wax: Wax blocks lime’s breathability and causes peeling.
- Do Maintain Consistent Humidity: Fluctuations cause uneven carbonation.
By adhering to these guidelines, you’ll achieve a timeless, durable limewash that enhances any interior space.
Frequently Asked Questions
Can I Apply Limewash Over Drywall?
Yes, but you need a breathable primer designed for drywall. This creates a suitable surface for the lime to bond without trapping moisture.
How Long Does Limewash Last on Interior Walls?
With proper preparation and upkeep, limewash can last 10‑15 years before a full refresh is needed.
Is Limewash Safe for Homes with Children and Pets?
Absolutely. Limewash is made from natural minerals and contains no volatile organic compounds (VOCs). This makes it a healthy indoor choice.
Do I Need to Seal Limewash After It Cures?
Usually no. The breathable nature of limewash is its strength. If you need extra protection in high‑traffic areas, apply a thin, vapor‑permeable sealant.
What’S the Difference Between Hydraulic Lime and Aerial Lime?
Hydraulic lime sets with water and is suitable for interior use. Aerial lime relies on carbonation alone and is better for exterior applications.
Final Thoughts and Next Steps
Choosing the best limewash paint for interior walls is more than a style decision. It’s about creating a healthy, lasting space. By following the preparation, mixing, application. Upkeep steps outlined above, you can enjoy a beautiful, breathable finish that ages gracefully.
Start by testing a small area, gather the right tools. Work patiently through each thin coat. Remember to respect the curing process and keep your workspace well‑ventilated. With these habits, your limewash project will look pro and stand the test of time.
Ready to transform your home? Pick a reputable limewash brand, follow the checklist. Watch your walls come alive with historic charm and modern strength.