Best Paint Kitchen Cabinets Tips and Best Practices
Standing in a kitchen with dull, dated cabinets can feel like a daily reminder that something needs to change. Many homeowners spend hours scrolling through endless paint options, only to end up frustrated by peeling, streaks, or a finish that looks cheap after a few weeks.
Finding the best paint kitchen cabinets solution means learning the right prep steps, picking a durable formula. Applying it with confidence. In this guide you will learn how to prep, paint. Protect your cabinets so the new look stays vibrant for years.
📌 AT A GLANCE
- ✓Surface Prep: Proper cleaning and sanding prevent peeling and ensure smooth coverage.
- ✓Paint Choice: Picking a low‑odor, durable enamel boosts lifespan and looks pro.
- ✓Application Technique: Using a high‑quality brush or sprayer reduces brush marks and saves time.
- ✓Curing Time: Allowing full cure prevents chips and keeps color vivid.
- ✓Maintenance Plan: Gentle cleaning and touch‑ups keep cabinets looking fresh.
Why Best Paint Kitchen Cabinets Matters: Key Fundamentals
Cabinets endure heat, moisture, and frequent handling, so the paint you choose must resist those stresses. A poor paint choice can lead to bubbling, cracking, or a finish that fades under kitchen lights. Understanding the science behind adhesion, strength, and sheen helps you avoid costly redo jobs.
Inspect for rot, loose hardware, and previous paint failures before starting.
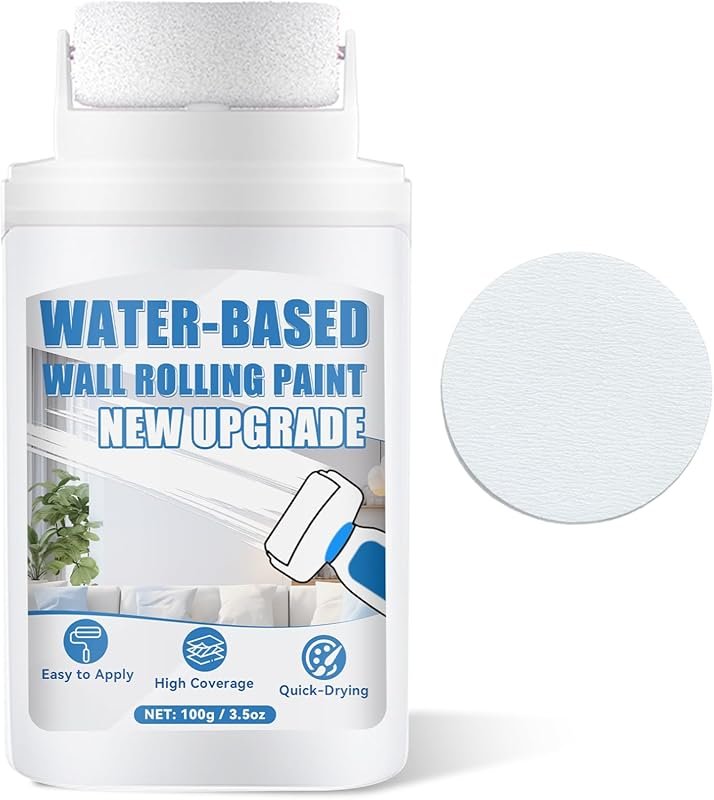
Choose a water‑based acrylic enamel for low odor and easy cleanup.
Buy a high‑quality brush, fine‑grit sandpaper, and a non‑scratch scrub pad.
Set up fans and open windows to keep fumes low during sanding and painting.
When you master the fundamentals, you gain confidence to tackle the project yourself, save money. Create a kitchen that feels brand new without a full remodel. For complementary picks and expert testing advice, see our guide on Top 10 Best All in One Paint for Kitchen Cabinets.
- Surface Integrity: Check for cracks or water damage; repair with wood filler before sanding.
- Adhesion Science: Proper cleaning removes grease that blocks paint molecules from bonding.
- Finish Selection: Semi‑gloss offers easy cleaning while keeping a warm look.
- Color Matching: Test a small area to see how light changes the hue in your kitchen.
- Environmental Impact: Low‑VOC paints protect indoor air quality and meet EPA standards.
Getting these basics right sets the stage for a flawless finish that will impress family and guests alike.
Step‑by‑Step Preparation Process
Preparation takes more time than the actual painting. But it is the difference between a showroom look and a DIY disappointment. Start by removing all hardware, then clean each surface with a degreasing solution.
Use a high‑quality, low‑odor acrylic primer designed for glossy surfaces. It dramatically improves adhesion and reduces the number of paint coats needed.
After cleaning, lightly sand with 220‑grit paper to create a “tooth” for the paint. Wipe away dust with a tack cloth. Apply a high‑build primer if the cabinets have a glossy finish.
- Hardware Removal: Use a screwdriver to detach hinges, handles. Pulls, labeling each set for easy reassembly.
- Degreasing Wash: Mix warm water with a few drops of dish soap. Scrub each surface to eliminate cooking residues.
- Sanding Technique: Sand in the direction of the grain to avoid scratches and ensure even texture.
- Dust Extraction: A vacuum with a brush tool pulls fine particles from crevices.
- Primer Application: Apply a thin coat of bonding primer to seal the wood and improve paint grip.
Allow the primer to dry fully—usually 2 hours—before moving on to the next step.
Choosing the Right Paint Formula
Not all paints are created equal for kitchen cabinets. Look for a product labeled “cabinet enamel” or “appliance paint.” These formulas contain resins that resist heat and moisture. They often have a built‑in primer.
Water‑based acrylic enamels are popular for their low odor and easy cleanup. Oil‑based options provide a tougher film but require longer drying times and stronger ventilation.
- Acrylic Enamel: Low VOC, quick dry, and cleans up with soap and water.
- Oil‑Based Enamel: Extremely durable, best for high‑heat zones, but needs mineral spirits for cleanup.
- Low‑Sheen Finish: Hides minor imperfections and is easy to touch up.
- High‑Gloss Finish: Shows off color depth but reveals scratches more easily.
- Color Fastness: Choose paints tested for UV resistance to keep cabinets bright.
For most homeowners, a water‑based semi‑gloss acrylic enamel offers the best balance of strength, ease of use, and environmental safety.
Application Techniques for a Professional Look
Whether you use a brush, roller, or sprayer, each method has pros and cons. Brushes give control on edges, rollers cover large flat areas quickly. HVLP sprayers produce the smoothest finish with minimal brush marks. For complementary picks and expert testing advice, see our guide on Best Primer and Paint for Kitchen Cabinets Tested Picks.
Begin with a light “cut‑in” around edges using a high‑quality synthetic brush. Then switch to a foam roller for the flat panels, applying thin, even coats. If you have access to a sprayer, practice on a scrap board first to gauge pressure.
- Brush Cut‑In: Use a 2‑inch angled brush for corners and hardware recesses.
- Foam Roller: Roll in a “W” pattern to spread paint evenly and avoid lap lines.
- Sprayer Settings: Set HVLP at 20‑30 psi; keep the nozzle 6‑8 inches from the surface.
- Thin Coats: Apply two to three thin layers rather than one thick coat to prevent runs.
- Dry Time Between Coats: Follow maker’s 1‑hour drying guideline for optimal bonding.
Patience during application ensures the final look appears as if a pro painted it.
Curing, Touch‑Ups, and Long‑Term Care
After the final coat, let the cabinets cure for at least 24 hours before reinstalling hardware. Full cure can take up to two weeks, during which the paint reaches maximum hardness.
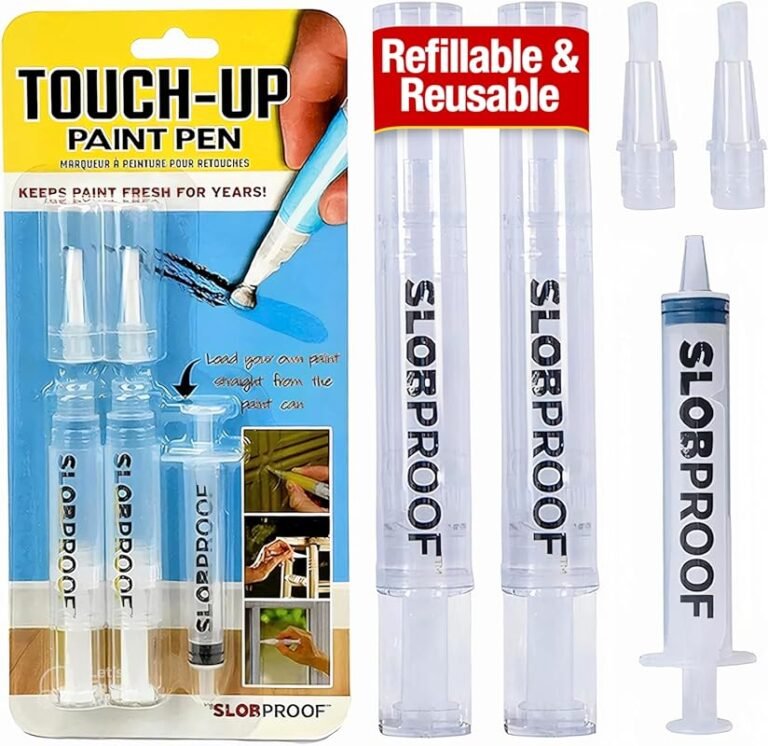
Maintain the finish by cleaning with a soft, damp cloth and mild dish soap. Avoid abrasive pads that can dull the sheen. Small chips can be touched up with a matching paint marker or a small brush.
- Initial Cure: Keep cabinets uncovered for 24 hours to let solvents evaporate.
- Full Harden: Wait two weeks before heavy use or placing hot pans near surfaces.
- Gentle Cleaning: Use a non‑abrasive sponge and mild detergent to protect the film.
- Touch‑Up Kit: Keep a small container of leftover paint for quick repairs.
- Humidity Control: Maintain indoor humidity below 60 % to prevent moisture from affecting the finish.
Following these steps keeps your cabinets looking fresh for years. Reduces the need for future repainting. For complementary picks and expert testing advice, see our guide on Top 10 Best Paint Remover for Kitchen Cabinets.
Best Practices: Dos and Don’Ts
Even with perfect prep and paint, small mistakes can ruin the finish. Below are the most common pitfalls and the actions that prevent them.
Always wear a certified respirator when sanding or spraying, most with oil‑based paints, to protect your lungs from fine particles and volatile organic compounds.
- Do Test Color: Paint a hidden strip to see how kitchen lighting changes the hue.
- Don’t Rush Drying: Skipping top dry times leads to bubbling and peeling.
- Do Use Proper Ventilation: Open windows. Run fans to clear fumes and dry surfaces faster.
- Don’t Over‑Sand: Removing too much wood reduces paint adhesion and can expose raw grain.
- Do Clean Hardware: Wipe knobs and hinges with alcohol to remove oils before re‑installing.
- Don’t Use Oil‑Based Paint in Small Spaces: Strong fumes require heavy ventilation and protective gear.
Stick to these guidelines and you’ll avoid the most common DIY setbacks.
| Stage / Focus | Key Action to Take | Timing / Phase | Impact |
|---|---|---|---|
| Assess Cabinet Condition | Inspect for rot, loose hardware, and previous paint failures before starting. | Initial Step | High |
| Select Paint Type | Choose a water‑based acrylic enamel for low odor and easy cleanup. | Core Stage | High |
| Gather Supplies | Buy a high‑quality brush, fine‑grit sandpaper, and a non‑scratch scrub pad. | Every Session | Moderate |
| Plan Ventilation | Set up fans and open windows to keep fumes low during sanding and painting. | Ongoing | Easy |
Frequently Asked Questions
Can I Paint Laminate Cabinets?
Yes. Clean the surface thoroughly, lightly sand to remove the glossy coat. Apply a bonding primer before using a water‑based acrylic enamel. This creates a durable finish that adheres to the laminate.
How Many Coats of Paint Are Needed?
Most experts recommend two thin coats of paint plus a clear topcoat for extra protection. Thin layers dry faster and reduce the risk of runs.
Is a Sprayer Worth the Investment?
If you have multiple cabinets, an HVLP sprayer can save time and give a smoother finish. Practice on scrap wood first to master technique and avoid overspray.
What Temperature Is Best for Painting?
Paint between 65 °F and 75 °F (18 °C‑24 °C) with low humidity. This range allows solvents to evaporate at an optimal rate, preventing bubbles.
How Do I Prevent Paint From Peeling in Humid Kitchens?
Use a low‑VOC, moisture‑resistant enamel and ensure proper ventilation during and after painting. A dehumidifier can help keep humidity under control while the paint cures.
Final Thoughts and Next Steps
Choosing the best paint kitchen cabinets solution is a blend of careful prep, smart product selection, and precise application. By following the steps outlined, you can transform dated cabinets into a fresh, durable centerpiece without hiring a contractor.
Now that you have a clear roadmap, gather your supplies, set up a well‑ventilated workspace. Start with a small test area. The confidence you gain from that first successful patch will carry you through the entire project.