Find the Best Black Interior Paint for a Bold Home Look
Walking into a room painted a deep, velvety black can feel like stepping into a sleek, modern gallery. Yet many homeowners shy away, fearing the color will make spaces look smaller or hide imperfections.
Choosing the best black interior paint lets you create drama without the drawbacks. In this guide you’ll learn how to pick the right formula, prep walls, apply flawless coats. Keep the finish looking fresh for years.
[
[EZ_UI_BLOCK_0]
]
📌 AT A GLANCE
- ✓Color Impact: Black adds depth, contrast, and a luxurious feel to any room.
- ✓Finish Choice: Matte, satin, and semi‑gloss each affect light reflection and strength.
- ✓Surface Prep: Proper cleaning, sanding, and priming are crucial for a smooth finish.
- ✓Application Tips: Use quality tools and thin coats to avoid streaks and brush marks.
- ✓Maintenance Plan: Regular dusting and gentle cleaning keep the paint looking new.
Essential Guide to Best Black Interior Paint: Key Insights
Black is more than a color; it changes how light moves across a room. A matte black absorbs light. This makes walls feel intimate. A satin finish reflects a soft glow that can brighten a space.
Understanding how pigment density and binder type affect coverage helps you avoid common pitfalls like uneven sheen or peeling. For complementary picks and expert testing advice, see our guide on Best Matte Black Paint for Walls to Upgrade Your Space.
- Light Absorption: Dark pigments soak up more light, creating a cozy atmosphere.
- Color Depth: Rich black pigments hide wall flaws better than lighter shades.
- Finish Impact: Matte reduces glare. Satin adds a soft sheen that can make rooms appear larger.
- Binder Quality: Acrylic binders provide flexibility and resistance to cracking.
- VOC Levels: Low‑VOC formulas protect indoor air quality without sacrificing power.
Choosing the right mix of pigment, binder. Finish sets the stage for a flawless project.
Expert tip: Look for paints that list “Carbon Black” or “Mars Black” as the primary pigment. These give the deepest hue and the most even coverage.
Preparing Your Walls for a Flawless Finish
Even the best paint can’t fix a poorly prepared surface. Start by removing dust, grease, and old paint residues.
Track your baseline results before making changes so you can measure progress and spot improvements right away.
[
[EZ_UI_BLOCK_2]
]
Repair any cracks or holes with a light spackle, then sand the area smooth. A clean, primed surface ensures the black paint adheres evenly.
- Dust Removal: Use a vacuum with a brush tool to clear loose particles.
- Degreasing: Wipe walls with a mild detergent solution to eliminate oils.
- Spackle Application: Fill cracks with a thin layer, smoothing with a putty knife.
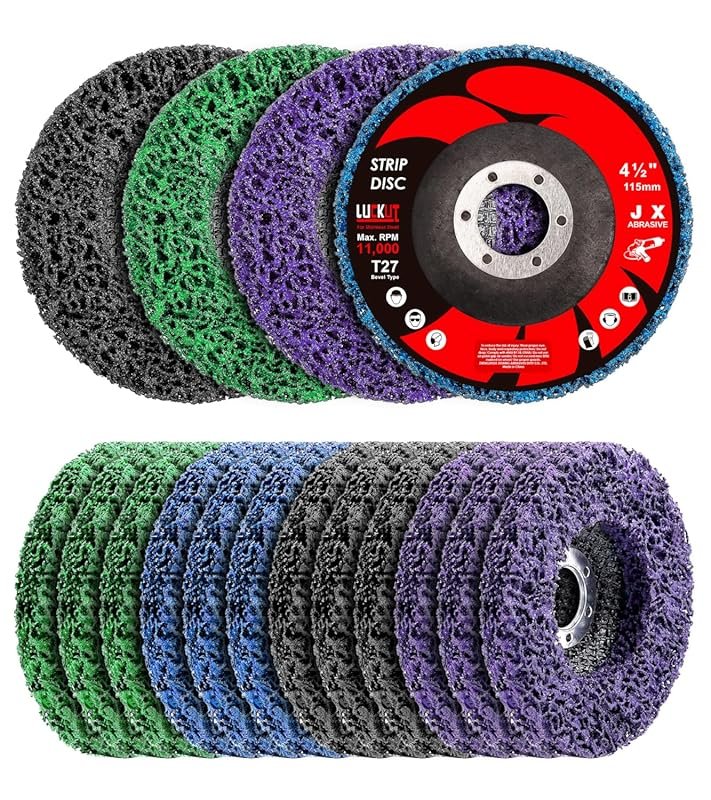
- Sanding Technique: Sand with 220‑grit paper for a fine, uniform texture.
- Primer Choice: Apply a tinted primer that matches the black hue to reduce coverage passes.
- Dry Time: Let primer dry at least 2 hours before painting.
Proper prep reduces the number of coats needed and prevents uneven color.
Step‑by‑step prep guide:
- Cover furniture and floors with drop cloths.
- Inspect walls for nail holes or dents.
- Patch each defect with spackle, let dry 30 minutes.
- Sand patched spots flush with surrounding wall.
- Wipe sand dust with a tack cloth.
- Apply one coat of tinted primer using a ½‑inch roller.
- Allow primer to cure fully—check maker’s top time.
Choosing the Right Paint Type and Finish
Not all black paints are created equal. Water‑based acrylics are popular for their low odor and quick drying time. Oil‑based options offer better strength on high‑traffic walls.
Finish selection also matters: matte hides surface imperfections, satin balances strength and sheen. Semi‑gloss stands up to frequent cleaning.
- Acrylic Latex: Ideal for most interiors; easy cleanup with water.
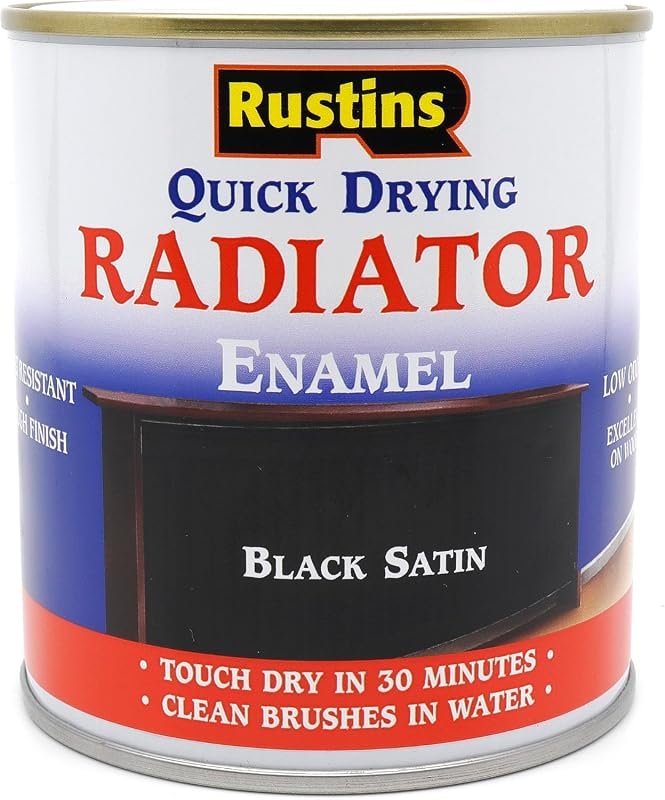
- Oil‑Based Enamel: Best for trim and doors; offers a hard, washable surface.
- Matte Finish: Hides blemishes; perfect for accent walls.
- Satin Finish: Provides subtle shine and good wear resistance.
- Semi‑Gloss Finish: Excellent for kitchens and bathrooms where moisture is common.
- Low‑VOC Options: Protect indoor air while giving rich color.
Match the paint type to the room’s use and your cleaning routine for lasting results.
Real‑world example: A home office with a matte black accent wall stayed flawless for three years. This happens because the wall saw little traffic and the matte finish concealed minor scuffs.
Application Techniques for a Professional Look
Applying black paint requires a steady hand and the right tools. Use a high‑quality roller with a ½‑inch nap for smooth walls. An angled brush for edges and corners.
Work in thin, even coats, allowing each layer to dry fully before adding the next. This prevents streaks and helps the pigment settle uniformly.
- Roller Selection: Choose a microfiber roller for even coverage.
- Brush Choice: Use a 2‑inch angled brush for trim and corners.
- Thin Coats: Apply no more than 1 mm per coat to avoid drips.
- Dry Time Management: Wait 1‑2 hours between coats in moderate humidity.
- Light Overlap: Overlap each pass by 25% to blend edges.
- Temperature Control: Paint when room heat is 65‑75 °F for optimal drying.
Following these steps yields a deep, uniform black that looks professionally done.
Pro tip: Load the roller only halfway. Roll off excess on a grid before applying. This reduces roller marks on dark surfaces.
Maintaining the Dark Finish Over Time
Black walls can show dust and fingerprints more readily than lighter colors. Regular upkeep keeps the surface looking fresh without damaging the paint.
Use a soft microfiber cloth for dusting and a mild soap solution for occasional cleaning. Avoid abrasive cleaners that can dull the finish. For complementary picks and expert testing advice, see our guide on Best Limewash Paint for Interior Walls Top Picks.
- Dust Routine: Wipe walls weekly with a dry microfiber cloth.
- Spot Cleaning: Use a damp cloth with a few drops of gentle dish soap.
- Avoid Abrasives: Skip steel wool or harsh scrubbing pads.
- Touch‑Up Kit: Keep a small can of matching paint for quick repairs.
- Humidity Control: Use a dehumidifier in damp areas to prevent mildew.
- UV Protection: Apply a clear UV‑resistant sealant in sun‑lit rooms.
Simple upkeep extends the life of your black paint and maintains its depth.
Case study: A family room painted with a satin black finish stayed free of visible fingerprints for two years by dusting weekly. Spot‑cleaning with a damp cloth.
Best Practices: Dos and Don’Ts
Following proven best practices helps you avoid common mistakes that can ruin a black paint job.
[
[EZ_UI_BLOCK_3]
]
Below are clear dos and don’ts to keep your project on track from start to finish.
- Do Test Lighting: View paint samples at different times of day.
- Do Use Quality Tools: Invest in a good roller and brush for smooth application.
- Do Prime Properly: A tinted primer reduces the number of top coats.
- Don’t Rush Drying: Skipping dry time leads to peeling and uneven color.
- Don’t Over‑Apply: Thick layers cause sagging and brush marks.
- Don’t Neglect Ventilation: Ensure airflow to reduce odor and speed drying.
Adhering to these guidelines ensures a stunning, long‑lasting black finish.
| Stage / Focus | Key Action to Take | Timing / Phase | Impact |
|---|---|---|---|
| Measure Wall Area | Calculate square footage to estimate paint needed accurately. | Initial Step | High |
| Select Finish | Choose matte for drama, satin for subtle shine, or semi‑gloss for high‑traffic zones. | Core Stage | High |
| Test Sample | Apply a small patch to see true color under different lighting. | Every Session | Moderate |
| Gather Tools | Get a high‑quality roller, angled brush, and low‑odor primer. | Ongoing | Easy |
Choosing Black Paint for Specific Rooms
Each room has unique lighting, traffic, and moisture levels. Picking the right black paint for the space prevents future headaches.
Living Rooms and Open Areas
- Use a Matte: Use a matte or low‑sheen finish to keep glare low.
- Pair Black Walls: Pair black walls with light furniture and metallic accents for contrast.
Example: A 300‑sq‑ft living room painted with a matte black “Midnight Velvet” felt cozy. Spacious when a large white sectional and brass lamp were added.
Bedrooms and Personal Spaces
Opt for a satin finish. Satin reflects enough light to avoid a cave feel, yet still offers depth.
Tip: Add soft white bedding and warm wood flooring to balance the darkness.
Bathrooms
Choose a semi‑gloss black enamel. It resists moisture and cleans easily. For complementary picks and expert testing advice, see our guide on Best Black Paint for Doors to Transform Your Home.
Real‑world: A small bathroom painted with semi‑gloss black stayed stain‑free after six months of daily showers.
Kitchens
High‑traffic kitchen walls benefit from semi‑gloss or oil‑based enamel. These finishes stand up to splatters and steam.
Pro advice: Paint cabinets with oil‑based black for a uniform look, then use a satin wall paint to soften glare.
Edge Cases: Dark Paint on Ceilings and Trim
Painting ceilings black can add drama to high‑ceiling rooms. Use a flat black paint to avoid glare.
Always check local guidelines and top specs before changing your regular routine.
Steps for a black ceiling:
- Prime the ceiling with a low‑odor flat primer.
- Apply two thin coats of flat black acrylic.
- Use a wide roller (9‑inch) to minimize lap lines.
- Ventilate well; ceiling dries slower than walls.
For trim, an oil‑based enamel in a satin or semi‑gloss finish gives a crisp, durable border that frames the black wall.
Example: A hallway with black walls. White oak trim painted in semi‑gloss created a striking, gallery‑like corridor.
Calculate square footage to estimate paint needed accurately.
Choose matte for drama, satin for subtle shine, or semi‑gloss for high‑traffic zones.
Apply a small patch to see true color under different lighting.
Get a high‑quality roller, angled brush, and low‑odor primer.
Frequently Asked Questions
Can I Paint a Small Bathroom Black Without Making It Feel Cramped?
Yes. Use a satin or semi‑gloss finish to reflect light. Add bright accessories to balance the darkness.
How Many Coats of Black Paint Are Typically Needed?
Most high‑quality acrylic blacks cover well in two thin coats, most when a tinted primer is used.
Is Black Paint More Prone to Showing Dust?
Dark surfaces do attract dust more visibly, but regular microfiber dusting keeps walls clean.
Can I Use a Low‑Voc Black Paint in a Bedroom?
Absolutely. Low‑VOC formulas are safe for bedrooms and still give deep, rich color.
What’S the Best Way to Touch up Scratches on Black Walls?
Keep a small can of the same paint, a fine‑tip brush. Lightly feather the repair into the surrounding area.
Final Thoughts and Next Steps
Choosing the best black interior paint transforms rooms into bold, elegant spaces. By picking the right finish, prepping surfaces carefully. Applying with precision, you can achieve a pro look that lasts.
Start by testing a small patch, gather quality tools. Follow the step‑by‑step plan outlined above. With proper upkeep, your black walls will stay rich and vibrant for years to come.